
How to Create an Overlay
This tutorial is my own creation from years of using Paint Shop Pro. I thank you for respecting this as my work by not posting it, in whole or in part, in any other location without written permission from 2MrsSumners Designs, Debbie or Laura Sumner!
This is just one way to create an overlay in Paint Shop Pro.
While I do not consider myself a tutorial writer I will try and explain how to create an overlay. This is only one way, as there are many different ways to do this.
Supplies Needed
You will need a graphics program that will handle layers. I will be using Paint Shop Pro 9 for this tutorial. If using another program find where your tools are, most programs can do what this tutorial does in some way.
Cleaned .png files - any .png files that you think will look good as an overlay. You will use your own creativity and imagination here. It will be better to use more simple images.
I will not be showing or telling how to clean a graphic there are many tutorials on the internet that deal with this and they are very good ones.
1. Open a 3600 x 3600 pixel transparent raster layer in PSP.

2. Open one of your cleaned images and go to Edit, Copy. Close out this image so that
your first image is showing.
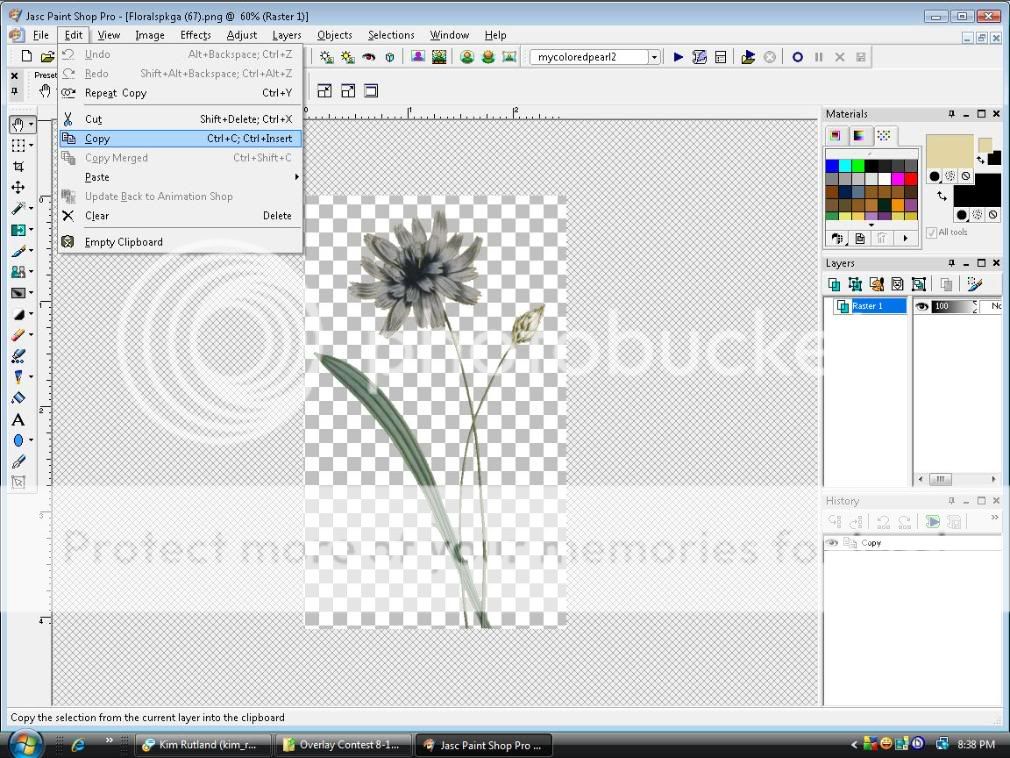
3. Go to Edit, Paste, and Paste as New Layer.

4. If the images is small use the deform tool to resize to what you want. Do not resize too
large, you do not want your image to be pixelated. This just means looks like many
tiny squares. If you get this size it back down.

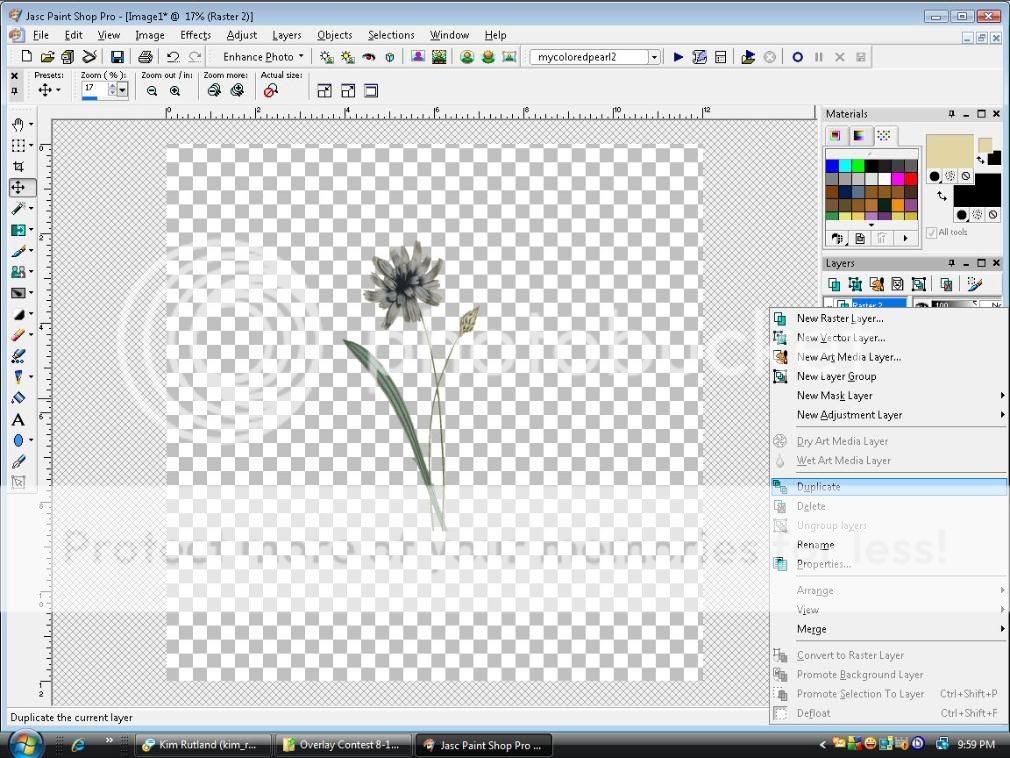
5. Repeat step 3 until you have all the images that you are going to use on the main
page, or if one image is all you are using then continue. Here I have decided to use
one single image and I have duplicated it many times.
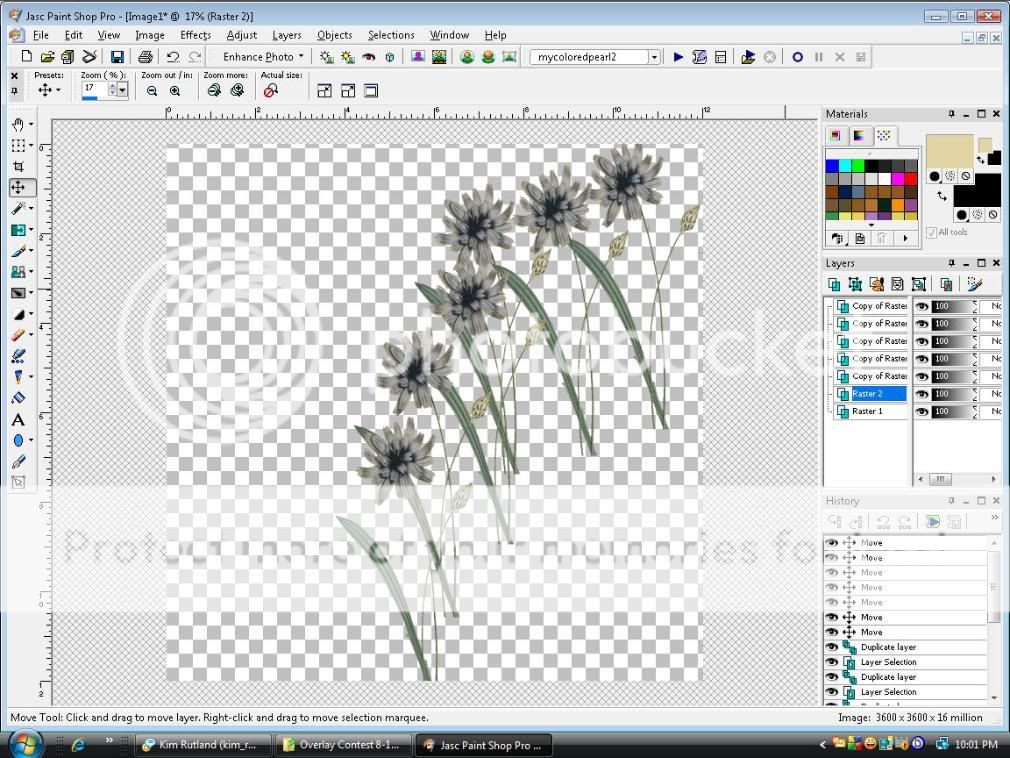
6. Using the Move tool move your image or images, wherever you want them on the
page. You can even Mirror some for more effects as well. I have decided that I
wanted a couple more leaves and buds. So I duplicated a layer twice. Adjusted one
smaller with the deform tool and used the eraser brush to erase the flower and
unwanted stem parts, mirrored a couple and arranged them to be behind all of my
layers.

Here is my final arrangement.

7. When everything is where you want it and it looks to suit you, then go to Layers,
Right Click on any layer, go to Merge, Merge Visible and left click. All overlays
do not have to be black so if you like the one you have then go to file, save as and
save, as a .png file to keep your transparency. If you want a black overlay then go
to Adjust, Brightness and Contrast, and move your Brightness all the way down to
-255

We are done. There are many ways to colorize overlays if you want to colorize them, just search for a tutorial or that may be one for next time. I hope you enjoy making overlays for your projects. Here is one that I have done, I love some overlays left in full color so I always save them as the original and then black as well.

LilSky was nice enough to be my tester on the tutorial and below is her results.
Thank You .


2 comments:
Very informative, I thank you!
J.
Just what I have been looking for. Thanks for a very clear tutorial.
carol
Post a Comment